Digital Home Sales: How to Sell Your Home Online in 7 Steps
Selling your home no longer means you have to put up yard signs, organize open houses, or even hire a listing agent. Instead, you can learn how to sell a house online at a fraction of the cost of a realtor’s commission. Using this strategy saves you money, meets the needs of today’s homebuyers, and makes it more likely your home will be visible precisely where the house shopping process takes place.
The majority of buyers use the internet to look for homes. According to the National Association of Realtors, 51% of buyers actually find the home they ended up buying online. Compare this to other sources like selling to acquaintances (10%), through yard signs (4%), or via print ads (<1%). Online home-selling platforms and tools include all the resources sellers need to market their homes and complete the entire sales process.
Even with greater accessibility, selling a home is still a major undertaking. Homes are often the biggest single asset people will ever own, so it’s important to avoid making a mistake or selling it for the wrong price. As you’re creating your home-selling strategy, learn how to sell your home online, save money, and understand proper handling.
Step-by-Step Guide to Sell a House Online
Whether you sell your home online or not, there’s a lot of work that happens behind the scenes. The first four steps cover everything that happens before you list your home and start hearing from interested buyers. The last three steps cover the negotiation, offer acceptance, and closing processes.
Step 1: Conduct Pricing Research
Setting the right listing price is one of the most important steps in the home-selling process. A competitive price attracts more potential buyers, increases your chances of receiving multiple offers, and helps you sell your house fast. But how do you determine the best price for your property?

One approach is to conduct your own market research. Look at recent sales of comparable homes in your area, analyze real estate market trends, and assess how factors like location, home size, and home improvements impact pricing. If you’re planning to sell as is, consider what similar properties in need of repairs have sold for.
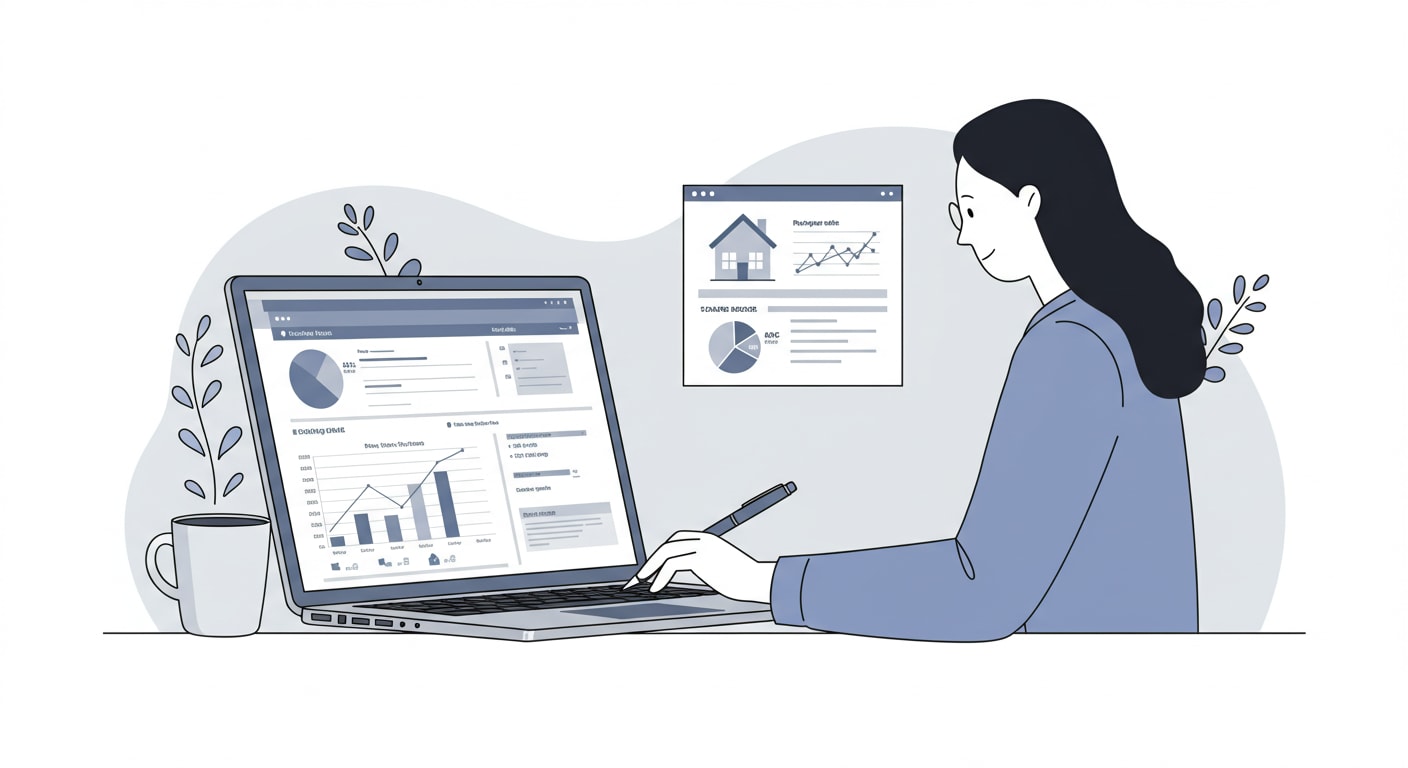
For a more accurate and data-driven approach, online pricing tools powered by AI and machine learning can provide insights that go beyond what’s publicly available. These tools analyze thousands of data points to determine fair market value, factoring in seasonal trends, neighborhood demand, and the impact of upgrades. AI is able to give you up-to-date figures so you’re not operating with last year’s real estate data. With this technology, you can confidently set a home’s sale price that maximizes your return while appealing to interested buyers.
Pricing your home strategically also allows you to plan for potential closing costs, decide whether making repairs is worthwhile, and budget for professional photography and marketing that will give your home maximum exposure in online listings. The right price sets the foundation for a smooth selling process, helping you attract home buyers and move toward a successful sale.
Step 2: Make Repairs, Improvements, or Updates to Your Home
Before listing your house online, take a close look at its condition and decide whether any repairs or updates could help increase your home’s sale price. While a move-in ready home generally attracts more interested buyers and commands a higher sale price, not all renovations offer a strong return on investment.
Focus on cost-effective upgrades that enhance the home’s appeal without breaking the bank. Fresh paint in neutral tones, updated light fixtures, and minor kitchen or bathroom improvements—like new cabinet hardware or modern faucets—can make a big difference. Curb appeal impacts buyers’ decisions, so consider landscaping touch-ups, power washing the exterior, or adding a new front door to make a strong first impression.
On the other hand, major renovations like full kitchen remodels, luxury bathroom overhauls, or adding extra rooms often cost more than they add in value. If your goal is to sell quickly, it’s usually best to skip high-cost projects and instead price your home competitively to attract potential buyers.
For homes with aging systems or visible wear and tear, focus on repairs that could raise concerns during a home inspection—such as fixing a leaky roof, addressing plumbing issues, or replacing an outdated HVAC system. If you prefer to sell your house as is, be prepared to price accordingly and market your home to cash buyers or investment buyers looking for fixer-uppers.
Ultimately, the right balance between repairs and pricing will help you sell your house online faster while keeping more home equity in your pocket.
Step 3: Take Professional Photographs of Your Home
Once your improvements are complete, take professional-quality photographs of your home. A large number of exterior and interior shots allow buyers to visualize your home in complete detail, especially if your photographer takes pictures from multiple angles. Beautiful photographs make your home more memorable and enticing, which can lead to a greater number of showings and offers once your home is on the market.

A modern real estate photography service offers powerful marketing tools that can make your online listings stand out and attract more potential buyers:
Dozens of high-quality images – Buyers often scroll past listings with poor or limited photos. Professional photography showcases your home in the best light, helping it grab attention.
Virtual staging options – Empty rooms can feel cold and uninviting. Virtual staging adds furniture and decor, helping prospective buyers visualize how they could live in the space.
3D virtual home tours – These interactive tours let home buyers explore your property from anywhere, making it easy for out-of-town buyers to get a true feel for the layout.
Engaging property videos – Short, high-quality videos can highlight key features, create an emotional connection, and encourage more interested buyers to schedule a showing.
These tools are especially valuable when selling to out-of-state buyers or anyone unable to visit in person. The more immersive and visually appealing your listing, the more likely you are to receive multiple offers and sell for top dollar.
Step 4: Create and Publish Your MLS Listing
This is the final step before your home is active on the market. If you have a real estate agent, they’ll handle the process of creating an MLS listing for you. The multiple listing service (MLS) is a database used by agents to share and access house listings, ensuring maximum exposure for properties. Your listing holds all the details about the property, such as the listing price, house description, images, information about the neighborhood, and your seller’s disclosure notice.
The MLS database is where buyers’ agents search for properties that fit their clients’ needs and wishes. The database also pushes out listings to sites like Realtor.com and Zillow for online shoppers to explore.
If you want to sell your house online and don’t have an agent, a flat-fee MLS listing service can take care of this aspect. Because only licensed agents and brokers can directly access and add information to MLS, you’ll need a licensed provider to do the uploading. Through an online platform, it’s easy to provide your home’s information, and the service will set it up. Then buyers and agents can coordinate directly with you based on your listing, even when managing FSBO listings.
Once your property listing and home are ready, change the status to active. Interested parties can review the details, see your home in search results, and decide whether they want to see the home in person or put together an offer.
Step 5: Coordinate Private Showings for Interested Buyers
Even when you sell your house online, in-person showings remain a key part of the selling process. Most potential buyers want to see a home before making an offer, so preparing for showings is essential. If your home is vacant, scheduling visits is simple. However, if you’re still living in the home, you’ll need a strategy to accommodate interested buyers while minimizing disruptions.
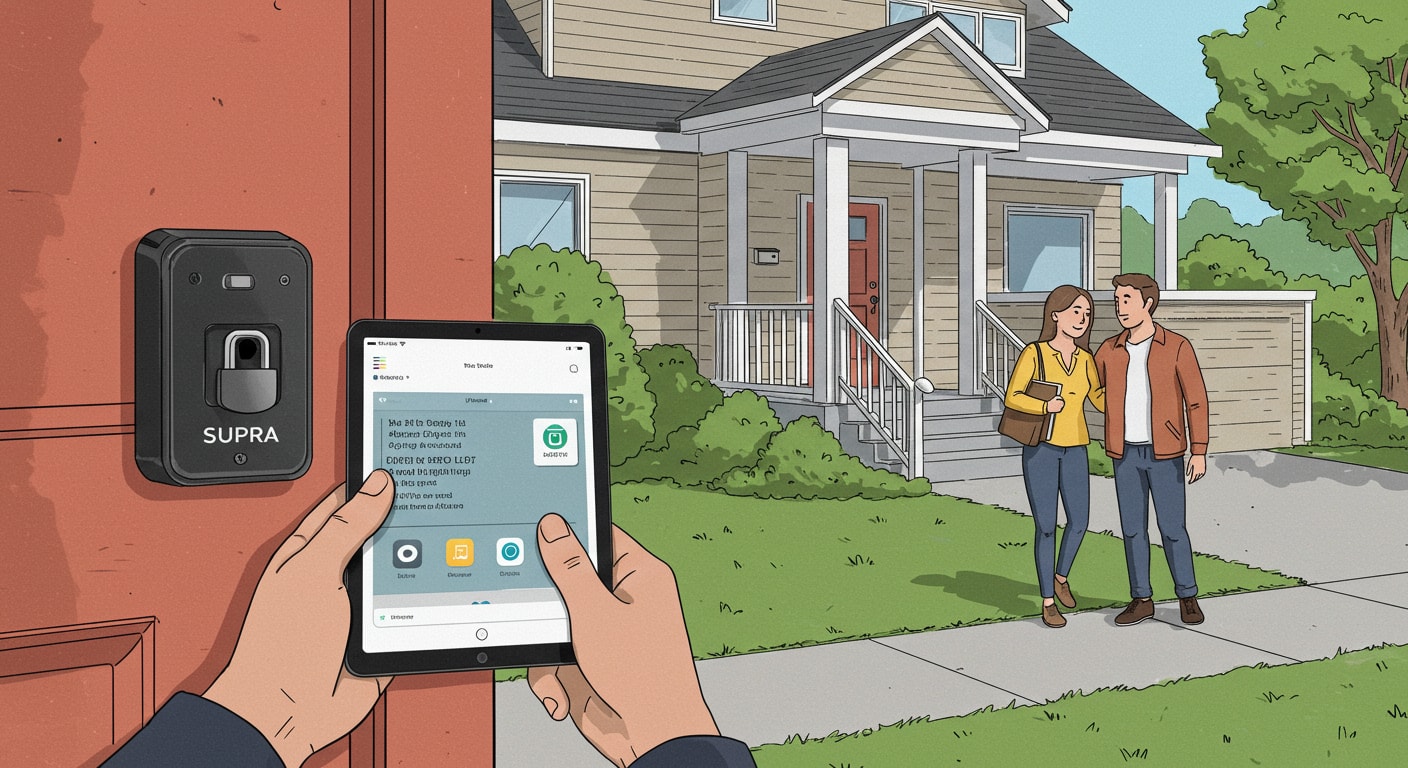
Using a showing management tool like ShowingTime allows you to set available hours, approve requests, and track appointments seamlessly. Many sellers also opt for a Supra lockbox, a secure device that gives licensed real estate agents access to the home without requiring you to be present. This eliminates the hassle of coordinating schedules while ensuring the process remains secure.

For occupied homes, keeping your space clean and depersonalized can make a big difference. A well-maintained, clutter-free environment helps prospective buyers envision themselves in the space, increasing the likelihood of a strong offer. The easier and more convenient you make it for buyers to view your home, the faster you can move toward closing.
Step 6: Answer Questions and Assess Offers
While your home is listed, you’ll receive inquiries from potential buyers and their agents. Responding promptly and professionally helps maintain interest, but it’s important to keep answers neutral and factual. Avoid over-promising or disclosing too much, as this could impact negotiations.
As offers start coming in, carefully review each one to determine the best fit. Consider the following factors beyond just the listing price:
Offer amount – Is the buyer meeting or exceeding your home’s sale price, or are they coming in with a lower offer that requires negotiation?
Buyer financing strength – A cash offer typically leads to a faster and smoother closing, while financed offers depend on the buyer’s ability to secure a mortgage.
Contingencies and option period – Does the buyer need to sell another home first? Are they requesting a long option period that could delay your sale?
Closing timeline – Some buyers may offer a fast closing date, while others need more time. If you’re looking to sell quickly, this could be a deciding factor.
Additional incentives – Some offers include benefits like covering closing costs, waiving the inspection, or allowing you to stay in the home after closing through a leaseback agreement.
If you’re receiving multiple offers, you may want to call for “highest and best” by a set deadline. Regardless of whether you accept, counter, or decline, it’s best practice to acknowledge all offers so buyers know where they stand. Once you accept an offer, your home goes under contract, bringing you one step closer to closing.
Step 7: Manage the Closing Process

This final step is exciting, but it can also be overwhelming. Your buyer likely has an option period of five days or so when they can conduct inspections and back out of the deal without losing their earnest money. They may also request amendments to the contract, either lowering the sales price or requesting repairs to accommodate whatever was found during the inspection (this is common). You can negotiate or decline amendments.
If the home stays under contract, the buyer’s lender will require an appraisal to ensure the home meets their lending standards, and then you’ll finally reach the day of close. Both sides sign the paperwork, and you receive your funds (minus any closing costs). The deal is complete!
Simplifying the Selling Process with Modern Real Estate Solutions
Navigating the home selling process can feel overwhelming, especially for first-time sellers, FSBO sellers, and real estate investors managing multiple properties. From pricing research to closing, each step requires careful attention to detail, and without the right tools, it can quickly become time-consuming and stressful. Fortunately, online platforms have made it easier to list, market, and sell your house online without relying on a traditional real estate agent.
These services provide essential resources like smart pricing tools, MLS listings, and showing management systems, helping sellers make informed decisions and streamline the selling experience. Professional virtual tours, photography, and marketing strategies ensure maximum exposure, while built-in support for negotiations and contract paperwork removes much of the guesswork. Whether you’re an investor looking to close deals efficiently or a first-time home seller unsure where to start, having access to these solutions allows you to stay in control without navigating the process alone.
By leveraging modern real estate technology, sellers can reduce costs, save time, and confidently move through each step—whether they’re aiming for top dollar, a quick sale, or a smooth, hassle-free transaction. With the right approach and resources, selling your home online can be a straightforward and rewarding experience.
Online House Sales Without a Real Estate Agent Are Even Easier With Services From a Trusted Provider
Selling your house online is a smarter, more efficient way to navigate the real estate market. By setting the right listing price, making strategic home improvements, leveraging professional photography, and using modern showing and negotiation tools, you can attract more interested buyers, receive stronger offers, and sell quickly without unnecessary stress. Whether you’re a first-time home seller, a FSBO seller, or an investor, having the right support and technology can make all the difference in achieving a smooth and successful sale.
At ListingSpark, we’ve built a platform that simplifies the entire sales process while keeping more home equity in your pocket. With data-driven pricing tools, flat-fee MLS listings, and expert support available when you need it, we empower sellers to take control of their home sales—without the high costs of a traditional real estate agent. Our technology-driven approach helps you market your home, manage private showings, and close faster, all while maximizing your profits. Get started today and see how simple and cost-effective selling your home can be.
Related Posts
How to Price Your Home: Key Factors That Determine Market Value
Strategic home pricing reduces market time and attracts more qualified buyers through competitive positioning. Set your price using recent sales data, consider seasonal timing, and stay flexible based on market feedback to maximize your sale…
Selling a House Without a Realtor: Hidden Costs & Risks
When homeowners consider the risks of selling a house without a realtor, they often focus solely on potential commission savings. However, FSBO homes sold for a median of $380,000 in 2024, compared to $435,000 for…
Do You Need a Realtor to Sell a House?
The latest data from the National Association of Realtors shows that 90% of home sellers use agents, but this raises an important question: Do you need a realtor to sell a house? While the majority…


